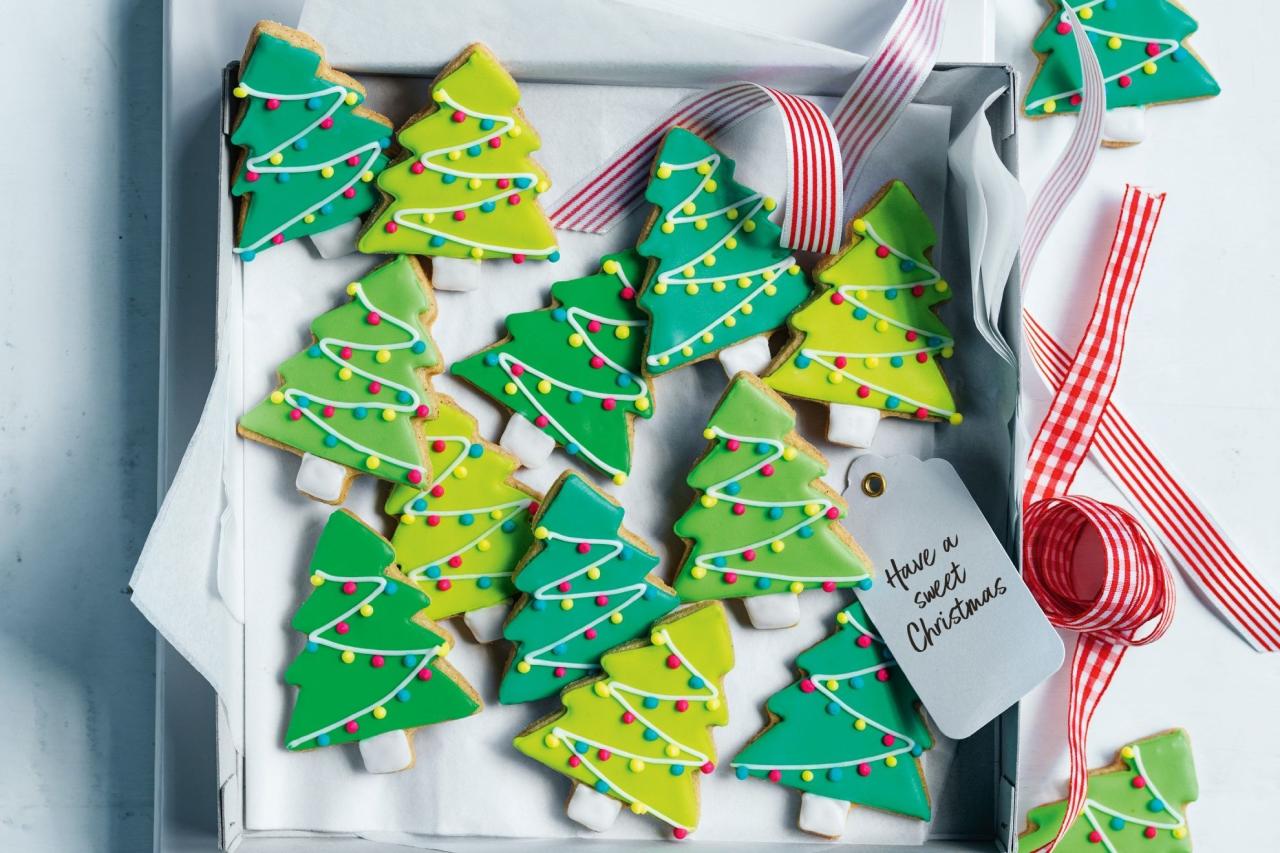
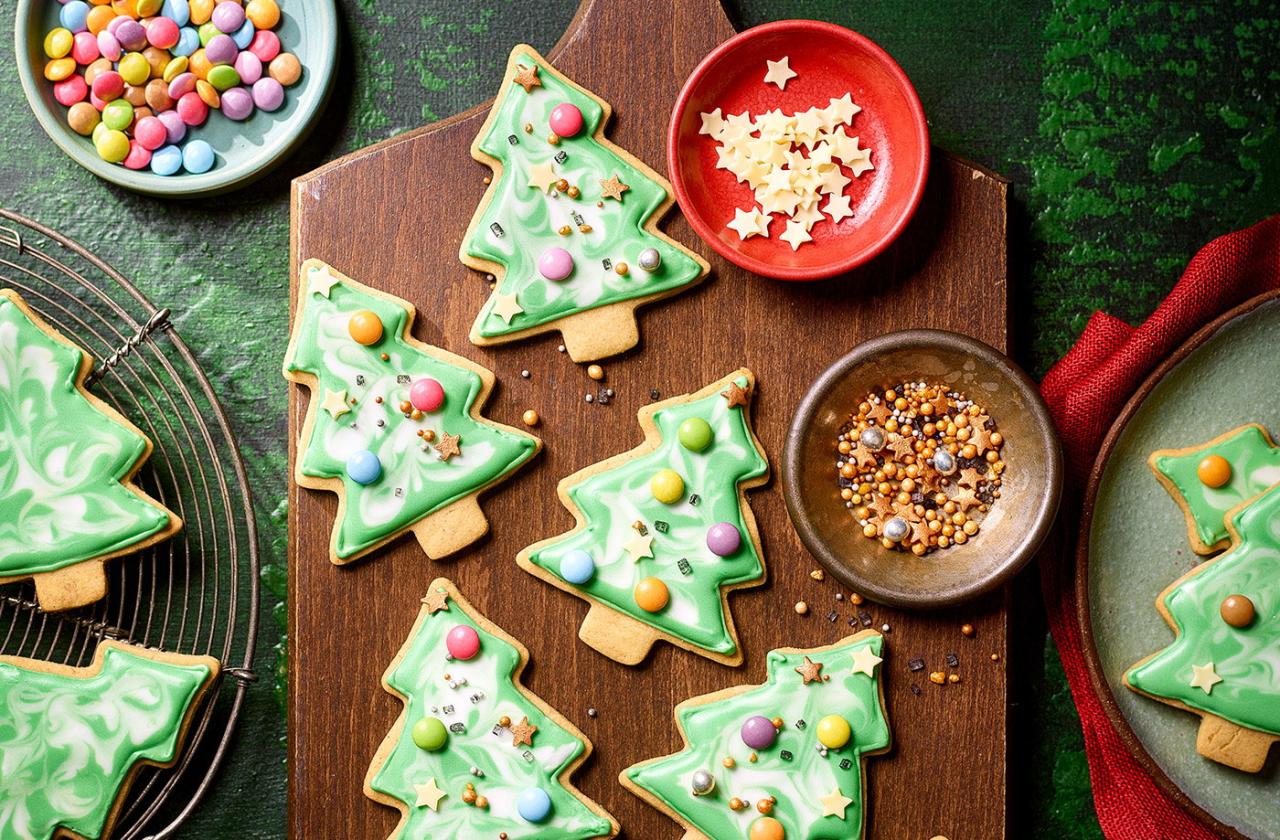
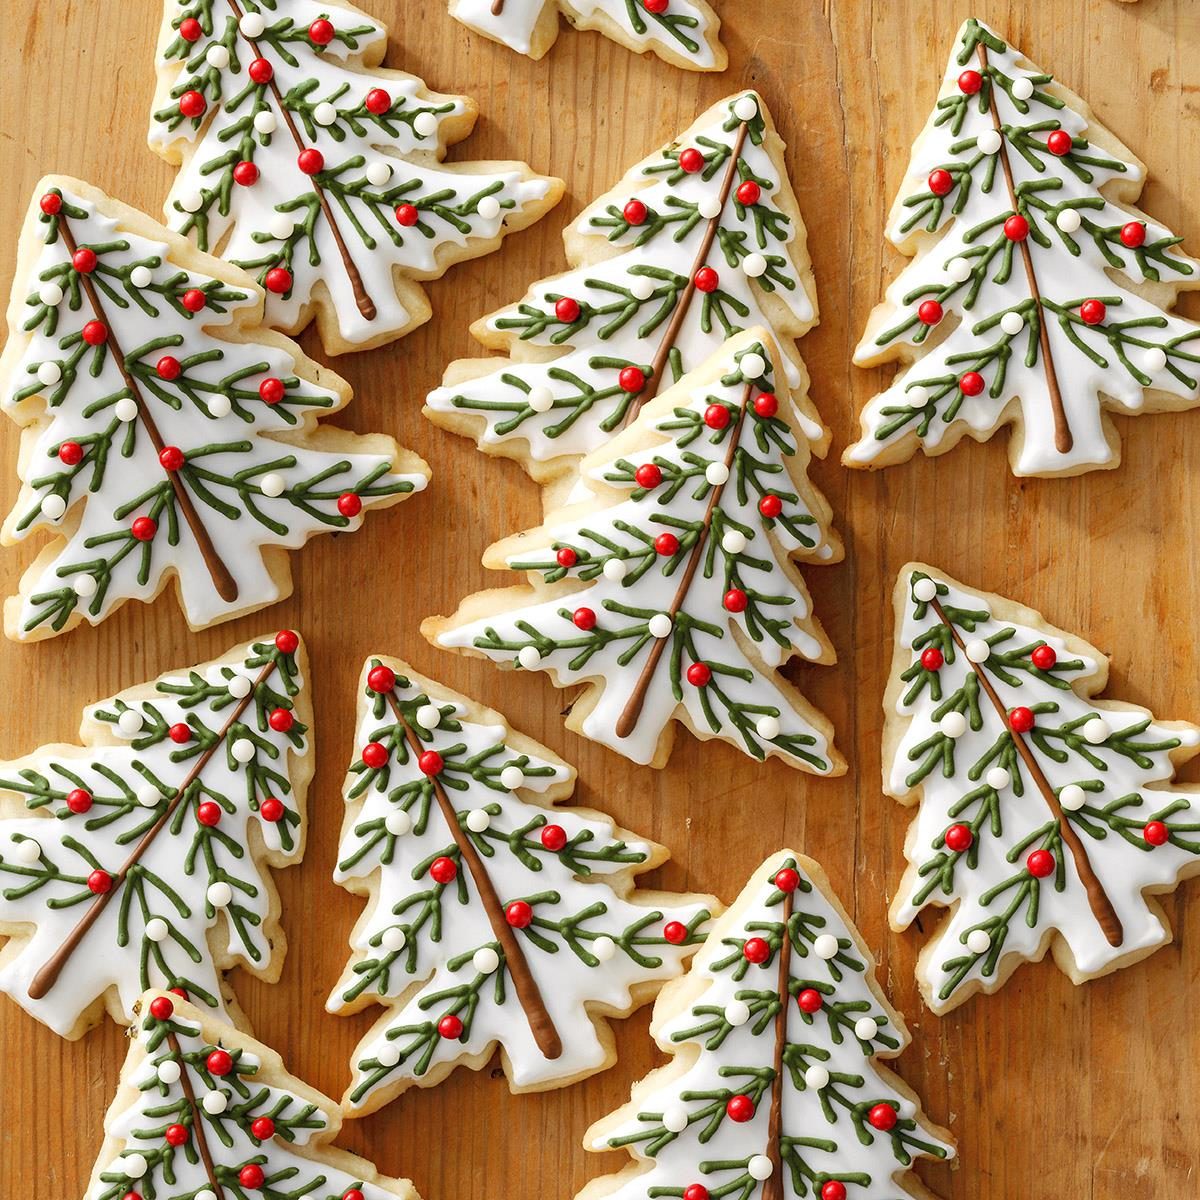
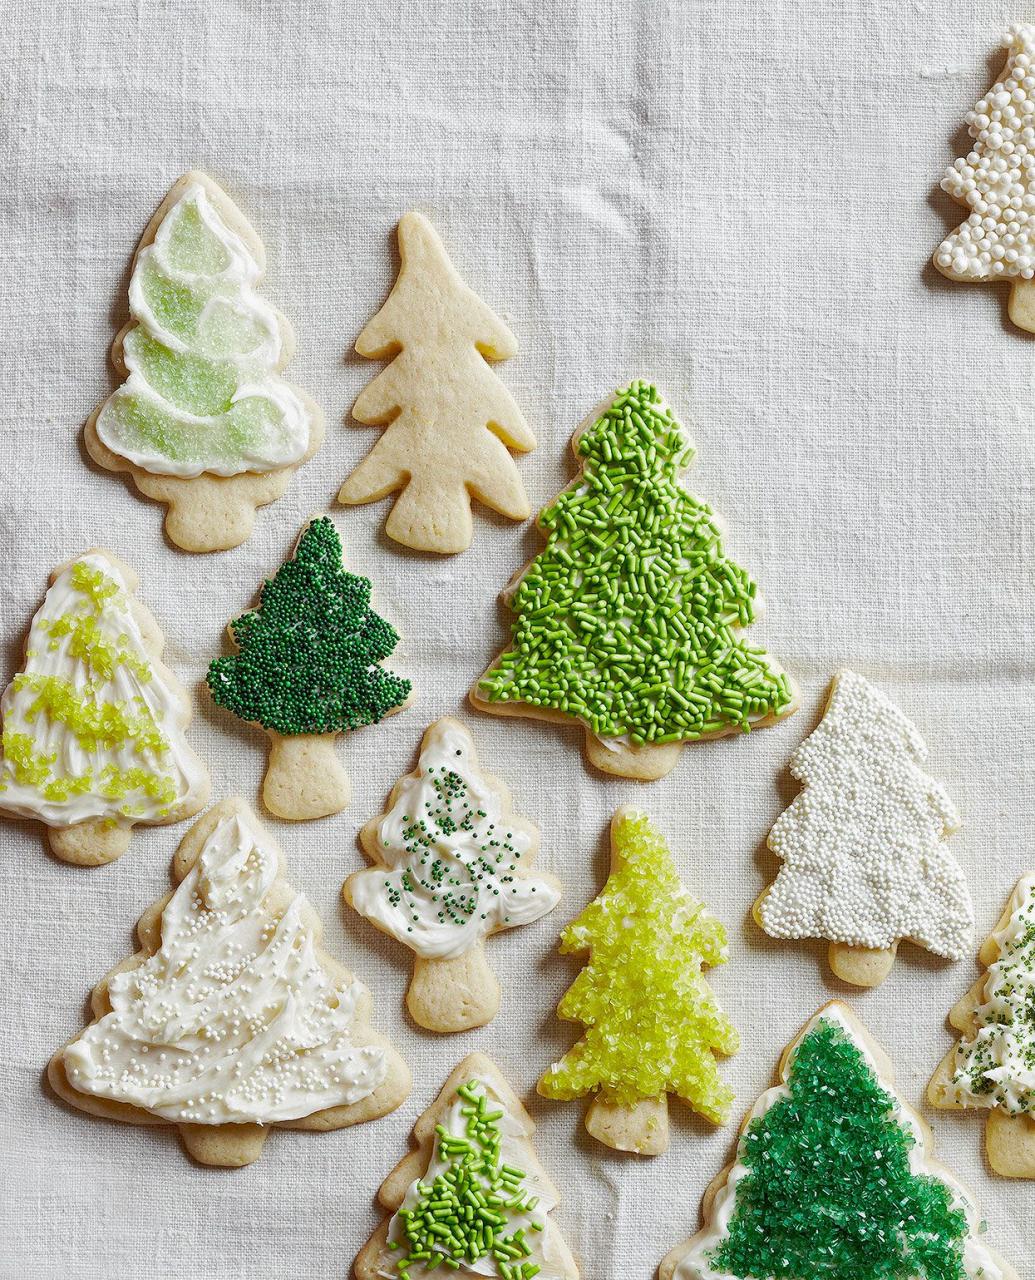
Seeing as we’re less than one month away from Christmas, I thought I’d share some awesomeness on the blog. These are Vanilla Christmas Tree Shortbread Biscuits that I made last year just before the Christmas break. As I was taking them into work for my colleagues just before the holidays, I figured it was a bit too late to share the recipe on the blog at the time. So I’ve saved it until now so you can also make them in time for Christmas!
This recipe is from the wonderful Kerry Cooks and I haven’t had to change any of it because it’s great. All I did was decorate the Christmas trees to look like they had baubles on them and everyone loved it. I actually doubled this recipe because I needed to make a big batch, but the instructions below will make approximately 12. Excuse my bright pink mixing bowl – I wasn’t thinking about the photos when I made this last year!
So go on… give them a go. The minimum effort is totally worth it. They also make fantastic gifts for absolutely anyone, because let’s face it, who doesn’t love a biscuit?
Christmas Tree Shortbread Biscuits Recipe


Christmas Tree Shortbread Biscuits
Ingredients
Equipment
Method
- Preheat the oven to 180C/gas mark 4/350F and prepare 2 or 3 large trays/cookie sheets with baking or parchment paper.
- To make the shortbread dough, mix the soft butter with the sugar, then add the vanilla bean paste and eggs and give it a whisk with your mixer.
- Add your flour in (you can sift it if you like) and give it another mix until all the ingredients are incorporated and it forms a slightly stiff dough mixture.
- Divide the mixture in half and add a few drops of your green food colouring to one half of the mixture. This really depends on what type of gel you’re using, so I would only add a little at first to see how intense it is. Everybody has a different preference and it really doesn’t change much colour in the baking process, so beware of adding too much. Mix and knead the dough until the colour is fully incorporated.
- Gather the dough and form a flat square like shape (I believe this helps rolling it out later). Put some cling film around both of them and pop into the the fridge to chill for at least 20 minutes.
- Flour your surface and roll out your plain dough first. The thickness is upto you, but I’d say mine was just a bit thicker than a £1 coin. Use a round cookie cutter of your choice, but make sure it is bigger than your smallest tree cookie cutter. Use a spatula to lift these off the surface and place them on your tray.
- Place your small tree cookie cutter in the centre of each round biscuit and carefully cut out and lift the small tree middle. You really need to do this part gently in order to not move the biscuits around too much otherwise these will be stretched and misshaped. That will make it hard to swap in the green tree shape later, so I would advise that you push the cutter down harder before attempting to lift it out.
- Roll your green dough out to the same thickness as the plain dough and use your small tree cookie cutter to carefully cut out the tree and lift off the surface using a small spatula or palette knife.
- Place the green trees in the centre of the large biscuit circles and gently press them in to fit properly, making sure there aren’t any big gaps.
- Bake for 10 – 14 minutes, keeping a close eye on them because the temperate varies in every oven. These aren’t really meant to get that brown, so they’ll be done quicker than you think. Once they’re done, take them out and carefully place them on cooling racks. As you can see, I made different ones with the leftover dough. If I had wanted to, I could’ve gathered the cut offs and rolled out another batch. But by this point, I had the amount I was looking for, so these were just bonuses!
- Once totally cooled, get decorating! Melt the white chocolate in a bowl in the microwave in quick 10 second bursts until it’s melted. Use a spoon or the end of a butter knife to drizzle the white chocolate on the Christmas tree to form the ‘tinsel’. Get your sprinkles and be as neat or messy as you like – after all, it’s your Christmas tree! I am a bit of an annoying perfectionist, so I wanted to make sure the different colours were fairly distributed… haha.
Video
How to make Christmas Tree Shortbread Biscuits using air fryer

The air fryer, a modern kitchen companion, brings a touch of innovation to the cherished tradition of baking Christmas Tree Shortbread Biscuits. As I embark on this festive endeavor, there’s a sense of nostalgia mixed with the excitement of new possibilities. The buttery scent of shortbread promises to fill the air, mingling with the piney fragrance of the holiday season.
In the quiet of my kitchen, I cream together butter and sugar, then gently fold in flour, each step a mindful act that honors the simplicity of the recipe. The dough comes together, smooth and pliable, ready to be rolled and cut into charming tree shapes.
The air fryer preheats quickly, a nod to the efficiency we crave during the busy holidays. I place the biscuits carefully in the basket, their edges crisp and golden in mere minutes, a testament to the air fryer’s capability to transform a classic with ease.
Decorating these biscuits with a drizzle of icing and a sprinkle of festive colors is a joyful act, one that invites smiles and the warmth of shared traditions. These Christmas Tree Shortbread Biscuits, born from an air fryer, are a sweet symbol of the season’s joy and the innovative spirit that can make each holiday unique.
Tips for making Christmas Tree Shortbread Biscuits

Cooking Tips
- Chill the dough before rolling it out. This helps the biscuits maintain their shape and makes the dough easier to handle, ensuring those Christmas tree shapes are sharp and defined.
- Use unsalted butter for its pure, sweet cream flavor which complements the simplicity of shortbread. It also allows you to control the amount of salt in your recipe, striking the perfect balance.
- Add a touch of vanilla extract or almond essence to the dough for an aromatic depth that enhances the buttery taste without overpowering it.
- Keep an eye on the oven; shortbread can go from perfectly golden to overdone quite quickly. They should be just kissed with color for that tender, melt-in-your-mouth experience.
- Let them cool on the baking sheet for a few minutes before transferring to a wire rack. This patience pays off with a perfectly set biscuit ready for decorating or dipping in chocolate.
Serving suggestion

Presenting Christmas Tree Shortbread Biscuits is a cherished act that captures the essence of holiday warmth. I find joy in arranging these festive treats on a platter adorned with holly or pine sprigs, their tree shapes a playful nod to the season. A dusting of powdered sugar mimics a gentle snowfall, enhancing their charm.
Serving them alongside a mug of hot cocoa or spiced tea completes the experience, each sip complementing the buttery richness of the biscuits. It’s a simple yet heartfelt way to spread cheer, inviting loved ones to savor a moment of yuletide bliss.
These biscuits, when shared, become more than just a sweet indulgence; they’re a symbol of the care and joy we wish to impart during the holidays, a reminder of traditions that bind us together in celebration and comfort.
Top 5 FAQs about Christmas Tree Shortbread Biscuits

- How do you prevent the biscuits from spreading and losing their shape? To maintain the Christmas tree shape, it’s important to chill the dough thoroughly before rolling and cutting. This solidifies the fat, which helps the biscuits keep their form during baking. Additionally, avoid placing the dough on warm baking sheets, as this can cause premature spreading.
- What’s the secret to achieving that perfect shortbread texture? The classic shortbread texture is tender and crumbly, which comes from the right ratio of butter, sugar, and flour. Using high-quality butter and not overworking the dough are key factors. Also, baking at a lower temperature allows the biscuits to cook evenly without browning too quickly.
- Can you make the dough in advance? Yes, shortbread dough benefits from resting and can be made in advance. Wrap it well in plastic wrap and refrigerate for up to 3 days or freeze for longer storage. If frozen, thaw in the refrigerator before rolling out and cutting into shapes.
- How can I add flavor to my Christmas Tree Shortbread Biscuits? While shortbread is delicious in its traditional form, you can add flavors like vanilla extract, almond extract, citrus zest, or spices such as cinnamon or nutmeg to complement the festive season. Be mindful to use these sparingly so as not to overpower the delicate flavor of the shortbread.
- What’s the best way to decorate these biscuits? For a festive touch, you can decorate the biscuits with icing, colored sugars, or edible glitter after they have cooled completely. Piping a simple outline or adding details with royal icing can turn them into beautiful edible ornaments. For a more natural look, a light dusting of powdered sugar can evoke a wintry feel.
These biscuits serve as edible ornaments, adorning our holiday tables and filling our homes with the sweet aroma of baked goodness. They are a reminder of the warmth and love that the season represents, offering a moment of comfort and nostalgia with every bite. Whether shared among friends or left out for Santa, Christmas Tree Shortbread Biscuits are a testament to the timeless joy of baking and the cherished memories that come with it.
As we wrap up another holiday season, let us carry forward the simple pleasure of these shortbread trees—a symbol of the care we put into our culinary creations and the shared experiences that make the holidays so special.
